



ADA Bathroom Sink Installation: Important Considerations
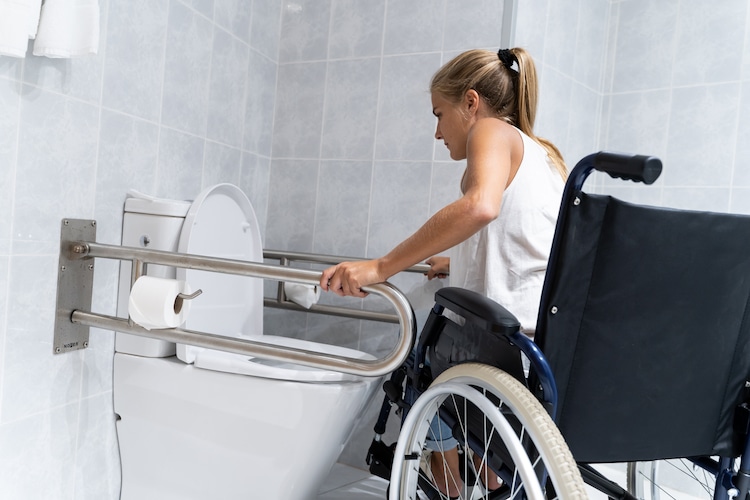
Installing an accessible bathroom sink requires careful planning to support comfortable use and compliance with applicable accessibility requirements. The finished installation should provide appropriate reach, clearance, and maneuvering space for the intended users.
A properly installed ADA Bathroom Sink can improve accessibility for wheelchair users and people with limited mobility. However, choosing an accessible sink is only the first step; its height, mounting, plumbing, and surrounding space must also be considered.
Review Applicable Requirements First
Before installation, identify the accessibility standards and building codes that apply to the property. Requirements can vary depending on the location, building type, and whether the bathroom is residential or intended for public use.
Relevant requirements may address sink height, clear floor space, knee clearance, faucet operation, and protection of exposed plumbing. Confirming these details before installation can prevent costly adjustments later.
Determine the Correct Sink Height
The finished height of the sink affects how easily users can reach the basin and faucet. An installation that is too high may be difficult for wheelchair users, while an unsuitable low position can be uncomfortable for other users.
Use the applicable accessibility requirements to establish the installation dimensions. The needs of the intended users should also be considered when planning the final position.
Provide Adequate Floor Space
Users need sufficient space to approach and position themselves at the sink. The surrounding area should be evaluated before the sink is mounted.
Check for potential obstacles such as doors, toilets, cabinets, walls, and other bathroom fixtures. A well-planned approach area can make the sink significantly easier to use.
Maintain Knee and Toe Clearance
Open space beneath the basin is important for wheelchair access. Fixed cabinetry, supports, or improperly positioned plumbing can prevent a wheelchair user from moving close enough to the sink.
Measure the space beneath the basin and account for drainpipes and water supply lines. The finished installation should preserve the clearance required by the applicable standards.
Select the Right Mounting Method
The mounting style affects both accessibility and structural support.
Wall-Mounted Installation
Wall-mounted sinks can provide open space underneath, making them useful for wheelchair-accessible applications. However, the wall must be capable of supporting the sink and expected loads.
Appropriate mounting hardware should be used, and the installation should follow the manufacturer’s specifications.
Vanity-Mounted Installation
A sink installed in a vanity can provide storage and a coordinated appearance. However, cabinets beneath the sink may interfere with wheelchair clearance.
If a vanity is used, carefully check the finished dimensions to ensure that the required knee and toe space remains available.
Position the Faucet Correctly
Faucet controls should be within comfortable reach and easy to operate. Lever-style handles generally require less twisting than traditional knobs and may be more practical for users with limited dexterity.
Touchless faucets can be another option in suitable settings. Their activation range and reliability should be considered during installation to ensure that users can operate them without difficulty.
Protect the Plumbing
Accessible sink designs may leave plumbing visible beneath the basin. Drain and supply lines should be positioned so they do not unnecessarily reduce legroom or create hazards.
Where required, exposed hot-water pipes should have suitable insulation or protection. Proper plumbing placement can help preserve both safety and accessibility.
Check the Basin Depth
The basin should be positioned and proportioned so users can reach the water without excessive leaning. A very deep basin can increase the required reach, particularly for wheelchair users.
Consider the basin depth together with faucet placement and sink height. These dimensions should work together rather than being evaluated separately.
Verify Structural Support
The supporting wall, countertop, or vanity must be strong enough for the selected sink. This is particularly important for wall-mounted models, where the mounting system carries the fixture’s weight.
If the existing structure is not adequate, reinforcement may be necessary before installation. A qualified professional can assess structural conditions when needed.
Consider the Entire Bathroom Layout
The sink should function as part of the complete accessible bathroom. Its position should allow users to move between the sink and other fixtures without unnecessary obstacles.
Mirrors, soap dispensers, towel holders, and storage should also be placed with accessibility in mind. Coordinating these elements can improve the overall usability of the bathroom.
Test the Finished Installation
Once the sink is installed, check the finished area from the perspective of the intended users. Verify that the faucet is reachable, the basin is comfortable to use, and the surrounding space allows appropriate maneuvering.
Inspect the area beneath the sink as well. Small installation problems, such as a poorly positioned pipe or obstruction, may be easier to correct immediately than after the bathroom is fully in use.
Final Thoughts
Successful accessible sink installation depends on careful measurements, suitable mounting, proper plumbing, and compliance with applicable accessibility requirements. The sink should be evaluated together with the surrounding bathroom rather than as an isolated fixture.
By planning the installation before work begins and checking the completed setup afterward, property owners can create a bathroom that is safer, more practical, and easier for people with different mobility needs to use.